Wednesday, February 29, 2012

Mason Jars, Keys and Candles

I love Pinterest.  You can follow me here. I found this jar here.  And I simply had to copy it.

A few quick ingredients and done.
Mason Jar ... Check
Epsom Salts ... Check
Cool Keys  ... Check (I got mine from Pick Your Plum a few months ago)
Twine or Jute ... Check
Votive Candle ... Check.

Assemble, light the candle, and done!


I am so loving these right now.
It also works for Pint jars too.
Just make sure the key fits!

Tuesday, February 28, 2012

Quiche Anyone?

I was asked to help make Quiche for a church event recently and thought I'd share a little how to.  It would be a great St. Patrick's Day Breakfast and since you make it the day before, 
it's even better.

Let's make the crust first.

This recipe makes enough crust for 3- 9inch  pie crusts.

Pie Crust
1 1 /4 cup shortening
3 cups flour, sifted before measuring
1 tsp salt
1/2 tsp baking powder
Combine in a mixer and blend until pieces are the size of small peas.

In another bowl combine:
1 egg
5 Tbsp Cold Water
1 Tbsp Cider Vinegar


Pour egg mixture into flour mixture and blend until combined.  Handle as little as possible.
Divide into 3 parts.


 Wrap dough in plastic and put in fridge for about 20-30 minutes.

 Lay out two pieces of plastic wrap, slightly overlapping the side to create a large surface to roll out the dough.  Put dough on plastic.  Make another layer of plastic wrap. Roll out the dough.  This method is great because you don't have to add more flour, and it makes clean up a snap!

 Turn dough into pie pan and flute the edges. No need to prick the bottom or pre-bake the crust.


Now for the filling. This recipe is for one quiche.


Spinach Quiche

Get out 3 oz cream cheese and allow to come to room temperature.

6 oz frozen chopped spinach
Thaw and drain.  Press between paper-towels 3-4 times to get as much water out as possible.

In your mixer:
Beat the cream cheese until smooth.
Gradually beat in:
1/2 cup half & half
4 eggs
1/2 grated cheddar cheese
1/2 c grated swiss cheese
1/4 c grated Parmesan cheese
4-6 green onions, thinly sliced
1/2 tsp salt
1/4 tsp pepper
Add in spinach and mix.


 Pour into pie crust.  Cover edges with foil to prevent browning.

Bake in preheated oven at 425 degrees for about 25 minutes until filling is set.
 Let cool at least 15 minutes before serving.
It's actually better if you let it rest in the fridge overnight.  Take out of fridge about 1 hour before serving to allow Quiche to come to room temperature.

Serve with fruit and enjoy!

So Yummy!

Thursday, February 23, 2012

Quick Scrap Fabric Bag

My little girl turns 8 this week and she is getting her own set of scriptures.  Of course she needs a bag to carry them to church. 
So I whipped this
  little bag up for her 
in about an hour.

I had some strips left over from another project so I lined them up.  Each strip is folded once lengthwise.

 Sew each strip together and topstitch over the seam.  Then sew the sides and bottom together.
 To make the square bottom, fold the corners in like this and sew in place.
 I added some ribbon trim to the bag.  Do this step now before adding the inner lining.
 We need some handles so I cut two strips like shown.
Fold them in half, then in half again.
Now sew down the fold line.
 Stitch down the other side too.

 Now for the pockets.  I cut another piece exactly the same size as the main bag.  Before you sew the sides and bottom together,  add some pockets.  Here's where I layed it out to make sure it will fit.

 I sewed the yellow to the wrong side of the pocket fabric like shown.
 Fold over the yellow once like shown.
 Then again and pin in place.  This creates a casing.  You could use Bias Tape here too.
 Iron the sides in on the pocket.
 Pin in place and top stitch the pocket to the fabric.  I added one to each side of the inner fabric.
 Create the box shape as shown above and stitch in place.

 Turn the inside bag inside out and slip inside the outer bag.
 The bags should fit perfectly inside each other.
 Fold over the top edge of the bag, add the handles and pin in place.
 Here's some more views.
 Top stitch all the way around the top of the bag, backstitching a few times over the handles to secure.

 And done.
The inside.

Quick. 
Cute.  
She loved it.

Tuesday, February 21, 2012

Some Ruffles for Me!


Remember I made this skirt for my little girl?  Well I finally got around to making this one for me.  It was so fun mixing the colors and I love how it turned out.  Let's get started.

Again I'm using sheets.  Black and Green left over from some other quilt projects I had.  The check is regular 45 inch fabric.

I cut a basic A-line skirt using another skirt I already had as a pattern, adding about 1 inch at each side for seam allowances.

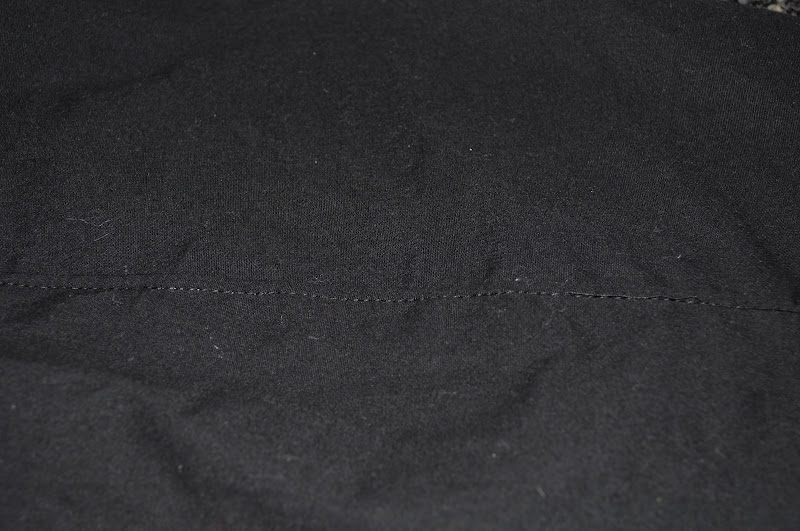
After serging the top piece to the bottom, I  top-stitched  the seam for a finished look.
This time I hemmed the bottom edge with a simple rolled hem.
 Next, I sewed the pieces into long continuous strips and gathered each one.  I wasn't sure how much I'd need so I gathered it all.  The fabric was torn and the I did about 7 strips of the check, then all of the green and black fabric I had left over.

 Start pining the black ruffle all the way around the bottom, and stitch in place.

 I wanted the same upward shape of ruffles as my daughters so I cut about a 6 inch piece for the center, then started at the sides and brought the ruffle up and over the 6 inch piece. Layer the ruffles as you go.  Then stitch in place.
 Next I added the Check fabric ruffle.  It goes all the way around and meets in the front.
Then I added another layer of the Check just from the sides and up to the point.  The green ruffle goes all the way around, then another layer starting from the sides and meeting in the middle.

I traced a bowl to give me the circle shape and stitched the green ruffle in a spiral to the center. After the flower was sewn down, I added a stitchable rhinestone to the center for a little bling.

Now the waistband.  Pin the top edge in four equal places like shown.

Get your elastic and fit it to your waist.  Serge or zig-zag the ends closed like so.
Mark the four corners of the elastic with a pencil.


These will match up with the pinned marks on the skirt.
Note:  Put the right side of the elastic against the wrong side of the Fabric.  This keeps the elastic nice and clean on the inside of the fabric waistband.

Match up the marks and pin in place.  Serge or Zig-Zag the top edge of the elastic making sure you catch the fabric on the bottom edge.  Stretch the fabric and elastic as you sew so the the fabric is flat.  This will ensure an even gather.

 Here's what it looks like finished.
 Now fold over the fabric, pin in place so the fabric tightly wraps the elastic.  Top stitch the elastic down, pulling the fabric tight and flat as you sew using both hands, one in back, one in front. You will have a nice even elastic waistband that doesn't roll or bunch.

 Here's a few close-ups of the skirt finished.
 Now with the added Bling!

 And done.  I wore this to church on Sunday and got tons of compliments.  SO easy and cute.  Who'd have thought bed sheets could look this good?!?

Print It Button