Showing posts with label Bunting. Show all posts

Friday, May 4, 2012

Cinco De Mayo

I'm a Southwest Native. Consequently I love Mexican Food.  Cinco De Mayo is pretty big around here, mostly for others it's an excuse to drink, but since I don't drink, it's a time to get together and have some amazing Mexican Food. 
You know I'm making some of these.  My favorite! 

I also love to make some fun decorations to celebrate.  This year I only spent about $3.50.  $2 for tissue paper at the dollar store, and $1.50 for ribbon from Walmart.  I haven't finished my table-scape yet, I'll share when it's done, but the wall deco is done.  Not to bad if I do say so myself.  

The bunting was just little pieces of scrapbook paper cut as shown and sewn onto tiny ribbon.

 I made about a eleventy-billion tissue paper flowers with the help of my friend {C}. Some smaller, some bigger, some fuller, some less full.  I like the variety.
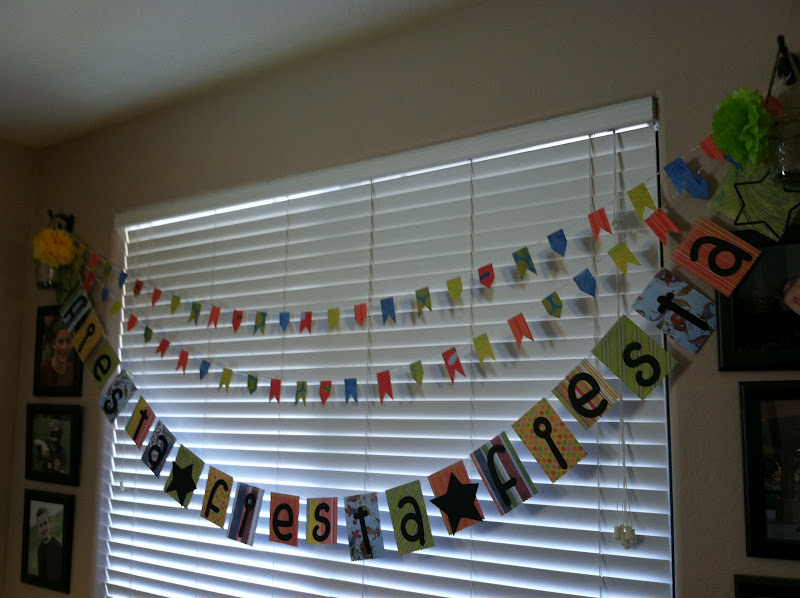
 For some reason the lighting in my kitchen is kinda bad. Sorry about that.  The Banner just says "Fiesta" about 3 times.  I used my Cricut to cut the letters.


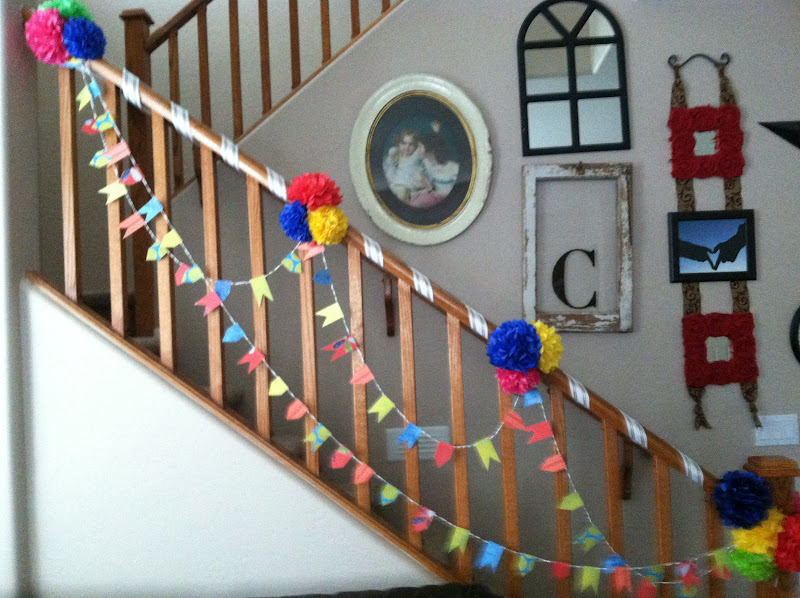
 This is the stairway. It's wrapped in ribbon, bunting and tissue paper flowers.


 Remember the wreath I made here? Well I'm in a new house without a fireplace so this it how I chose to display it.
 It was fun adding the bunting and flowers to it.  I love how it turned out.

 Lastly the wreath on the front door.  Super easy and I think pretty cute!


Happy Cinco De Mayo!
Let's eat!

Saturday, February 4, 2012

A few more X's and O's

I needed to re-do my kitchen window again.  I change out the side pics depending on the holiday.  Usually I print out vintage images from The Graphic's Fairy, but this time I decided to raid my stash and copy a little of what Mandy did Here at Little Birdie Secrets.

First I gathered some paper.
This image came from Graphics Fairy here.    I resized it in Photoshop and made it fit an 8.5x11 inch paper then printed it out.  You're welcome to click on this image and save as then print your own.
These are some more pages I created in Photoshop using brushes from Brusheezy.  I needed both a portrait and landscape version.

Next I cut a bunch of hearts and X's and O's with my Cricut using the George basic shapes cartridge. The I Love You was also on the George cartridge.

 Now start gluing the letters and hearts onto the paper.

Lastly I followed Mandy's tutorial loosely.  I added stitching crosswise too.  I also stitched some hearts and X's and O's to use go across the window.  So simple and sweet.

The Left Side.

 The Right Side.


 And done.  I did add some berries to the mason jars I made here.
I love it.


Wednesday, December 7, 2011

Christmas Banner


I thought I'd share my Christmas Banner and try taking pics outside for a change.

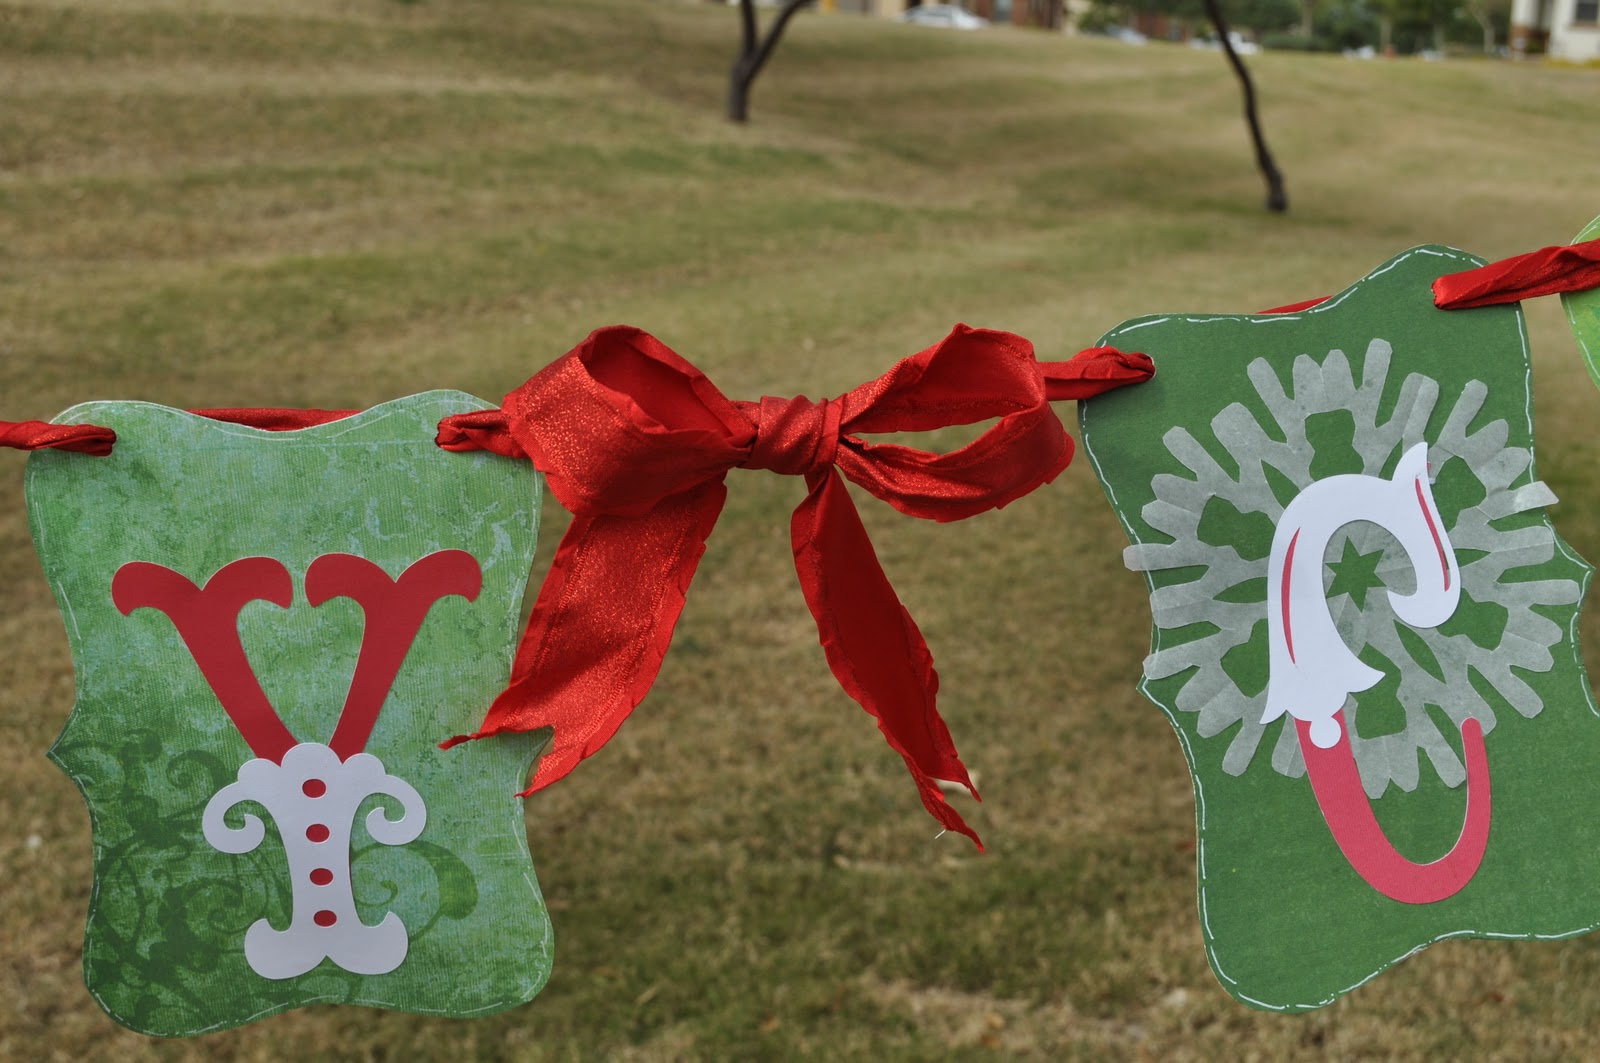
For some reason, maybe because of Harry Potter, but I like Happy Christmas better than Merry Christmas.  So that's what I put on my banner.  The letters were cut on my Cricut with the Storybook Font.  It has these great additions to the letters that really changes the look.

 The snowflakes are cut from wax paper and they back a few of the letters.
 I decided to join the words with a large bow.  The ribbon came from Costco.

Here's the finished banner.
Happy Christmas to all!

Wednesday, November 16, 2011

Thanksgiving Banner


I finally finished my Thanksgiving decor just in time and I wanted to share.

I found these great vintage Thanksgiving art at The Graphics Fairy. There are so many great things there.  I picked out my favorite ones, resized them in photoshop to fit my frames and printed them out.
Here's the right and left sides of my kitchen window.


Now for the banner.  I cut the shapes on my cricut, Storybook font.  Then inked the edges of the top letter and the brown base.  Then I used Stickles to add the glitter to the right edge of each letter.
 Next I followed the paper folding tutorial from Little Birdie Secrets found here.  (I got to go to that party with Jessica and Mandy.  I so miss them!)
Then I pulled apart a silk flower and put a brad through the center, gluing the whole thing together and punched holes in the corners of each letter.

 For the string to connect them, I used this, picked 3-4 strands and wrapped tape around the end for easy threading. Kinda like a shoelace.


 Here's a close up of part of the banner.
 Here it is finished.  So warm and festive!

Print It Button