Tuesday, October 23, 2012

Pear Butter

I got a 40 lb box of Pears recently and it was fun to find some yummy ways to preserve summer's bounty.  Pear butter is another favorite, along with Pear Honey.  This recipe is super easy and oh so tasty.  Let me share how.

Pear Butter

Cut and core pears.  You don't have to peel them, just remove the stem and seeds.
I probably used 8-10 pears.  Enough to fill my crockpot.
Put pears, a few at a time in boiling water to soften the pears.  About 1-2 minutes.
Remove using slotted spoon and put pears in blender.


Blend in blender until smooth.
You can still see the Pear Honey on my counter I still haven't put away yet.


 Fill your crockpot with pear-sauce.  Add the following:
1 1/2 tsp nutmeg
1/2 tsp cloves
1/4 tsp allspice
2 tsp orange zest
6 cups sugar


Lay some butter knives across the top as shown.  
You want the moisture to escape while the pear-sauce cooks down.


Lay the lid on top.
Let cook for at least 24 hours or until desired thickness.  I let mine cook down about 1 1/2 inches down from where I started.

When it's done, add 1 cup orange juice and stir well.

Process in prepared jars in a boiling water or steam canner for 20 minutes.

Remove and let rest overnight to ensure a good seal on your jar.  Lable and store in your pantry.


Pear Butter.

Summer's bounty turned Autumn Spice!

Love it!


Friday, October 19, 2012

Sushi Cake and my Milestone Birthday


Ok.  I'm OLD!  Really, I was pretty depressed about the whole 40 thing the whole week before my birthday.  Luckily I have a great friend who also recently turned 40 who seriously cheered me up!  She said she wanted to make my birthday cake for me, so after much pondering I asked for a sushi cake.  She's a fabulous cake decorator, you can see a previous cake she made for my daughter here, and I knew she could do it.  But she floored me when I walked in and saw her creation.  WOW!  She also made real sushi with rice and seaweed and everything.  I was touched.  Let me show you what she made.


The chop sticks are made from fondant.  There's a pile of bubble tape ginger, and a ball of frosting wasabi.  
Love it!


She also made a huge pile of individual sushi rolls out of rice crispys, fruit by the foot, gummy worms as the centers, and swedish fish for the tops.  They were a huge hit with everyone, especially the kids!


The roll was made out of cut up pieces of cake that she colored different colors, then rolled up in a layer of rice crispy treats, then rolled in green fondant.  On the end she put some puffed rice cereal to look like real rice.


Here's my attempt at being Vanna White.  While I'll never be on Wheel of Fortune, 
I sure felt fortunate to have such a great friend on my milestone birthday!


Sushi cake... it's a Fabulous Thing!

Wednesday, October 3, 2012

Upcycle me something pretty! part 4

 Time for part 4 of Upcycle me.  This time I made something for my girl.  I love the ruffles and made it similar to this one.  Only this time, I just used a long sleeve t-shirt that I had but didn't love anymore.  I think it turned out super cute and my girl loves it!

Upcycled Girls Skirt

You will need one long sleeve shirt.   Lay out the shirt and measure the length you want the skirt to be, plus about 1 inch for the waistband.


I'm not sure what happened to the pictures.  Weird.  Anyway,
Cut the sleeves off at the seam and set aside.


Trim the side seams where the sleeves were to make an A-line skirt and sew up the sides. 


Open up the sleeve and cut in 1 inch strips.  This will be your ruffle.


 Lay your strips together and sew to make one long piece.


Gather the strips to make ruffle.  Pin in place and sew to bottom of the skirt like shown.

Next I used my embroidery hoop to hold the fabric flat so I could make the ruffle flower.  


I used some large red Ric-rac along with the ruffle fabric and sewed it into a spiral.


Here's a closeup.  I like the added intrest the ric-rac makes.


Add your elastic waistband, pinning then serging the elastic to the fabric like shown.  Then turn the elastic inside and topstitch to secure in place.


And Done!  So cute!


Thanks for being my model pretty girl!

Tuesday, October 2, 2012

Pear Honey Heaven

I got some pears from Washington this week and have found a super yummy way to preserve them in my pantry.  This recipe is super easy and you will want to eat the whole jar yourself!  I know my family did!
The recipe calls it Pear Honey.  I call it Pear Orange Yummy-ness!  
It's more like a marmalade and is fabulous on toast!


Pear Honey

                                                                                  Wash, peel and core:
                                                                6 pears
2 tart apples (I used Granny Smith)


Zest one whole orange into heavy large stockpot.
Peel the orange and discard peels.


In the blender put the cut pieces of fruit and blend to a puree.  The chunkyness is up to you depending on how long you blend the fruit.  I did two pieces at a time.

Put the fruit puree in large stockpot with the zest.
Add 3 cups sugar.  Stir well.

Cook to boiling.  Let boil while you prepare your jars.


Fill jars with fruit mixture leaving 1 inch headspace.


Put lids in about 1 inch water and heat to a simmer.  Remove from heat and place lids on jars.  Fix rings and process in a boiling water canner, or steam canner for 20 minutes.

Remove and let cool for 24 hours to ensure a good seal on your jar.  Label and put in your pantry.


Luckily there was a little left that I didn't put into jars.  My Husband loved his breakfast of eggs, peaches, Oatmeal Molassses bread toast, and Pear Honey.


 One more homemade treasure to add to my pantry!


Monday, October 1, 2012

Fruit-a-licious Breakfast Oatmeal!

Here's a super yummy breakfast oatmeal that's packed with fruity good-ness, plus a little chocolate to take the flavors to the next level.   I found the recipe on pinterest from Urban Nester.  I changed it a little but the basics are the same.  I didn't take any pictures of the process, but it's super easy!

Fruity Breakfast Oatmeal

I  1 1/2 times the recipe to fit my 9x13 pan since I'm feeding 7.  The origional is for a 10x7 pan.  Since I don't even own a pan that size, I'll give you my version.

3 cups rolled 6 grain oats (I used Bob's)
1/2 cup sugar
1 Tbsp molasses
1 1/2 tsp baking powder
1 1/2 tsp cinnamon
3/4 tsp salt
1 1/2 cups chopped walnuts
1 1/2 cups cherries that have been pitted and sliced in half, and some quartered
(other fruit of your choice can be substituted.  I would use any kind of berry, bananas, peaches, apples chopped small, pears, etc.)
3/4 cups chocolate chips

Mix the dry ingredients reserving some of the cherries to place on top at the end.

Mix the wet ingredients:
3 cups milk
2 large eggs
5 Tbsp butter melted
1 1/2 Tbsp vanilla extract

Put dry ingredients into 9x13 inch pan that has been sprayed with non-stick spray.
Gently pour milk mixture over the dry ingredients trying to cover all the oat mixture.
Put remaining cherries on top to make it pretty.

Bake at 375 degrees for 35-40 minutes or until golden brown and set.
Let cool slightly as Cherries will be hot!
Serve.


 Warm fruity chocolate-y yummy-ness!


Saturday, September 29, 2012

Upcycle me something pretty! part 3

Here's one of my favorite's.  I feel so pretty in this skirt and would wear it all the time if it wasn't so darn hot outside still.  All that fabric is kinda warm so if you live in a colder climate than Arizona, which is pretty much anywhere else, it would be perfect.  If I was still in Seattle, I'd wear it every Sunday.  
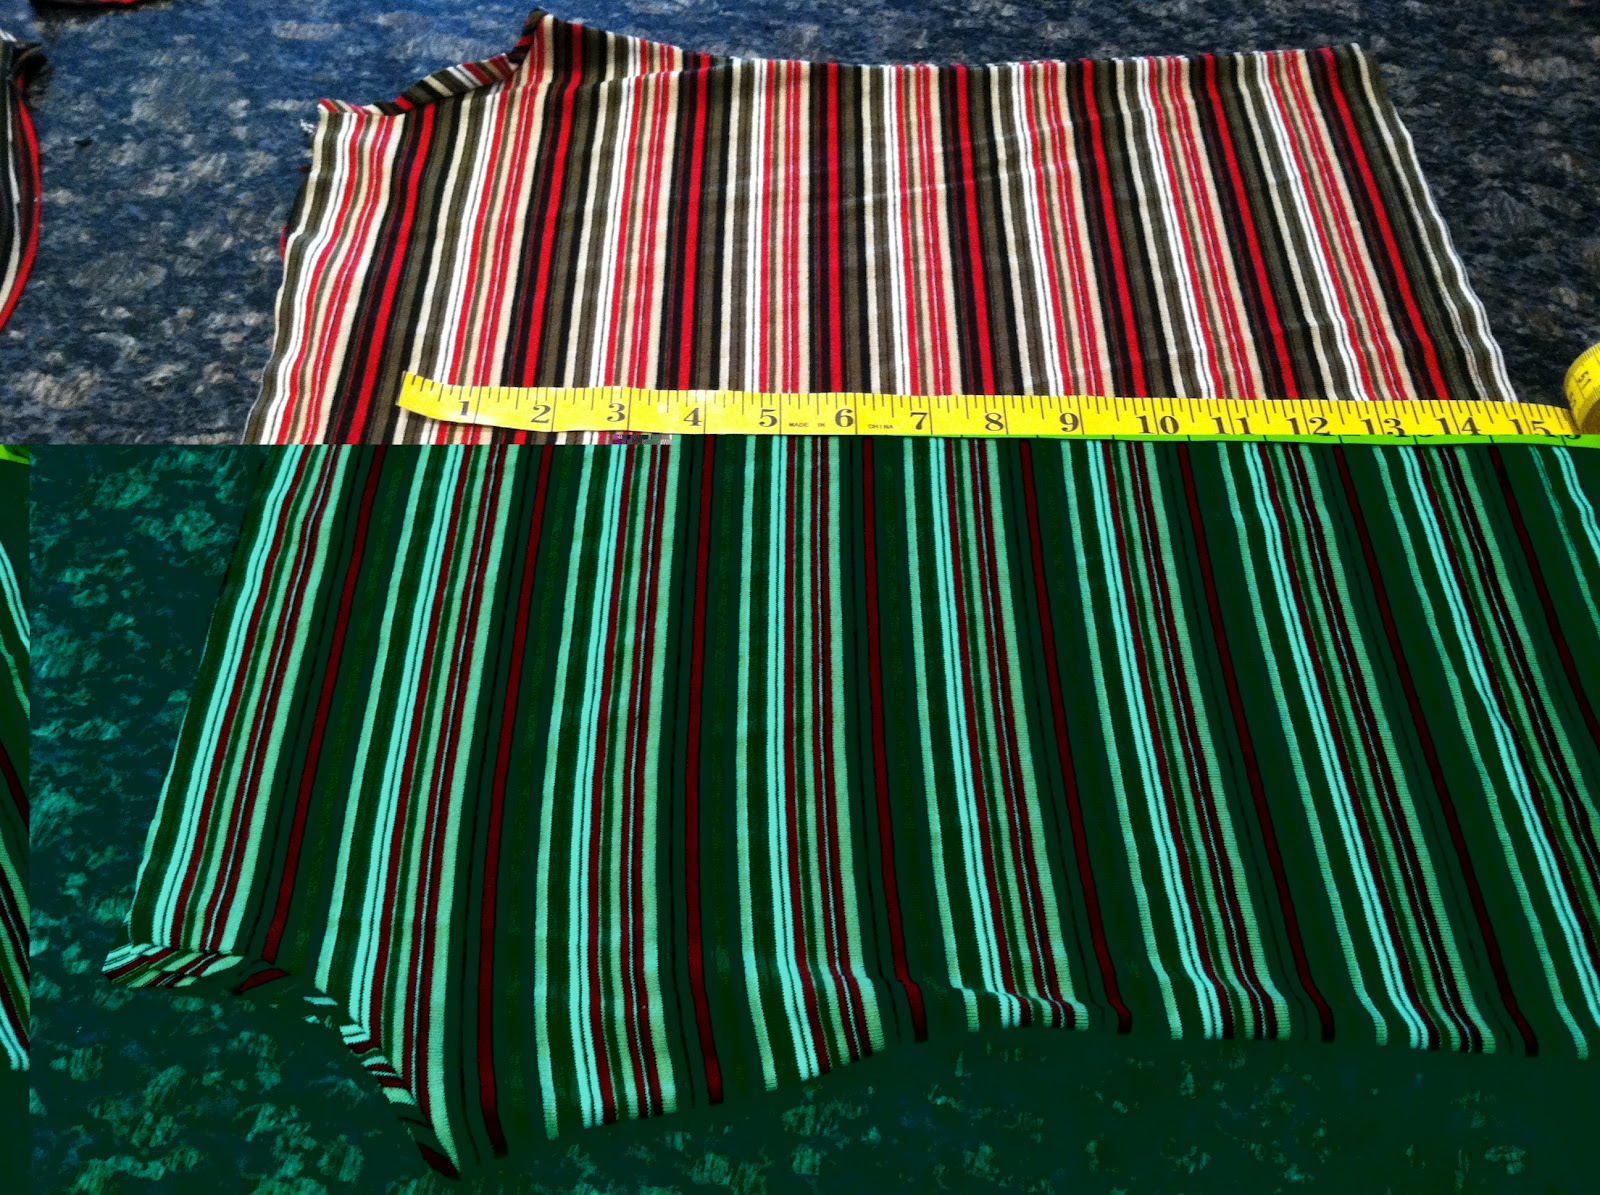
It's a long maxi skirt with ruffles made from a bed sheet.  I also remade the shirt too. 
Let's get to it.


Here's the before and after for the shirt.  Not terrible, but it needed a little feminine touch.


 First I cut off the collar.  I didn't use it again so you can discard it.


Next I cut off the sleeves.  I just hemmed the edge of the sleeve and didn't do anything fancy.


Next I lined up the front of the shirt and trimmed the neckline a little larger like shown.


 Cut up the sleeve and save the strips.  They will become the ruffle at the neckline.

Open up the sleve to get the pieces for the ruffle.  Fold them in 1/2 and press.  Gather the raw edge and serge or zig-zag to prevent fraying.
 I serged then turned the fabric to make a simple hem, folding the button placket to make sure everything lays flat and nice.
 Here's what it looks like with the neckline sewn in place.


Then I added some pin tucks to the front and the back.  Make sure you line up the placement and length to get them even from side to side.


Here's the front of the shirt, and the back.


Now for the ruffle.  I wanted it simple so I layered the two pieces cut from the sleeve, one slightly larger than the other.  Pin the ruffle in place starting from the front of the shirt working your way back.  I sewed it the first time with the ruffle upside down, then folded it over and top stitched it to the shirt.  This hides the serged edge and finishes the look.


Here's a close-up of the neckline.


Now for the skirt.  I'm using a full size bed sheet.  I used one of my maxi skirts as a pattern. Fold the sheet in half and lay the skirt on top and cut about 1 inch from the edge for seam allowance, plus a little extra at the waistline so I can still get it over my hips, and for the elastic waistband.  I didn't want to mess with a zipper this time.


This is the waist line.  Cut it slightly curved to ensure a more feminine fit.  Seam up the sides of the skirt, add an elastic waistband, hem and set aside.


Fold the remaining sheet in 1/2 and  1/2 again.
Then fold the  piece into a pie shape from the folded corner.


Measure the longest distance but still having all 4 layers of fabric underneath.  


Keeping the end of the tape in one place, move the tape across the bottom of the pie wedge marking the fabric  every few inches at the same length from the top corner of the wedge.  Cut along this line and you will have a complete circle.  Unfold the circle and lay flat.


Starting from one edge cut inward in a spiral trying to keep the width the same all the way in.


 After cutting the spiral you have a huge length of ruffle.  I used my serger and roll-hemmed both sides of the ruffle.  Then after hemming the bottom edge of the skirt, I started sewing the ruffle on the skirt starting at the bottom side edge.  Sorry I don't have any pictures.  I just sewed it on and didn't pin it at all.  I guess you could pin the ruffle in place but it really would take a ton of pins and I would inevitably get poked several times.


And done.  I added a little satin ribbon and ribbon flower at the waist to finish the outfit.


 I feel pretty!


Print It Button