Showing posts with label Opaque Projector. Show all posts

Thursday, February 27, 2014

A Reclaimed Wood Wall Art Roundup


Ever since I met {J} over at Twigs and Twine, 
she's kept me busy, busy, BUSY with more reclaimed wood orders.  
If you head over you can see my latest batch displayed.

Some are custom like this one and this one, but for the most part,
I get to just play.
From the next several pictures, it's obvious that I've been playing with
different fonts, different designs, and different colors.

I seriously have crafting ADD.

It's funny to go through my stash of supplies and remember which phase I was in at the time.

Scrapbooking.  Check.
Card making.  Check.
Jewelery making.  Check.
Quilting.  Check.
Vinyl.  Check.
Sewing Fabric Bags.  Check.
Sewing Maxi Skirts.  Check, check and still checking!

But now it's on to reclaimed wood.
For the most part it's pallet wood, but occationally
I will score some different pieces like a sheet of lovely beadboard and plywood.

And since none of these signs will be going up in my house,
I just put them in the best looking place for display for the pictures.
Hence, they are all taken in the same spot.
If you want a different setting... well use your own imagination.

So here's the round up.

First is a Bakery sign on beadboard.
I love the font.  It's the same one I used in my blog header.
Again the process is the same as this one and this one.
I make the transparency, print it at Staples for $1,
take it home and set up my projector and start tracing.
I used to use contact paper and the Cricut, but I felt limited on what I could design.
The projector method takes longer for sure, but I have more artistic license.

There I go talking like I'm actually a real artist.

Nah.  Just a crafty girl who likes to play with power tools and paint.

Bonus is that I'm actually getting paid to craft.
That's never happened before and I'm savoring every moment.


I like playing with birds and have used them quite a bit in the past.
These are some new images I found and thought I would try them out.


This one is a throwback to this board I made at the beginning of the year.
Same image, totally different design and color.


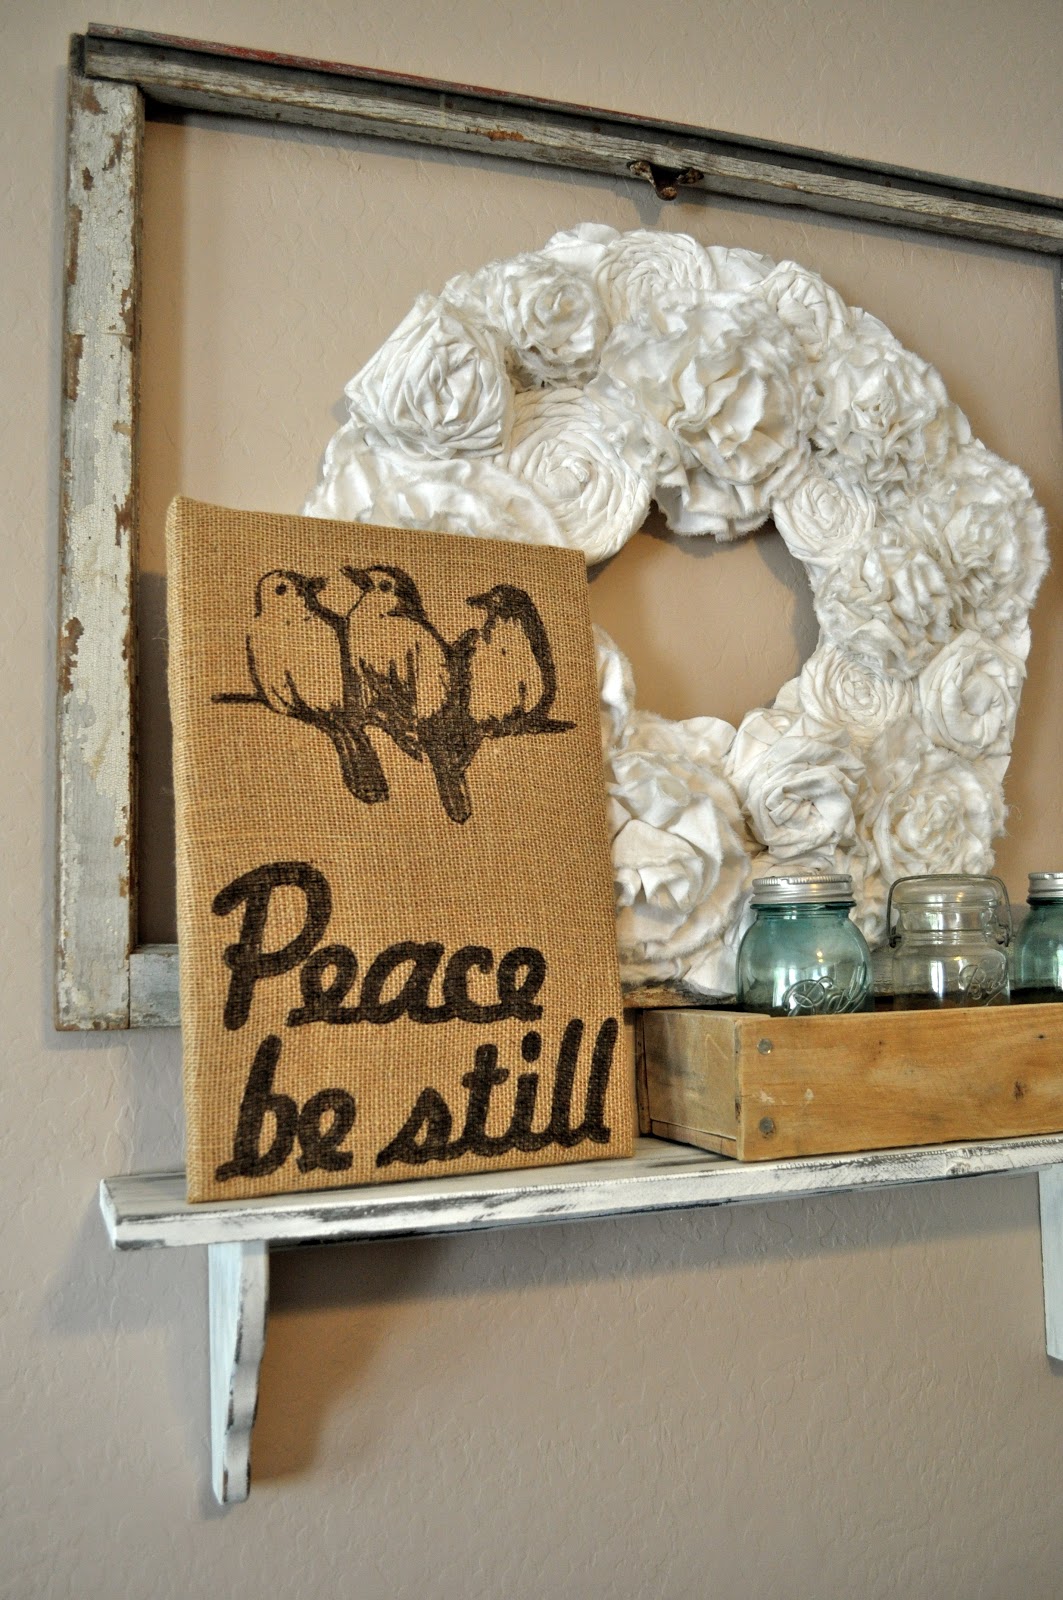
Again more bird love.


I think it's fun that you can see part of the labeling on the wood.
It says product of Canada.
Kind of cool.


I love this word-art.  
I plan on doing something like this for my daughter for her room.
I just have to decide on the medium.
Haven't got that far yet.


Last was a quick piece that was super easy to paint.
I love it when pieces come together quickly with out much extra work.
I've wanted to  play with come kitchen images and have done a few in the past.

I definitely see some zinc letters in my future.
But for now... enjoy!


That's enough for one day.
Sheesh.  I'm tired.

Another day saving the planet using reclaimed wood
and making things a little more beautiful.
If I do say so myself.  ;)


Friday, October 4, 2013

Birds on a Branch


Another batch of wall art gets delivered to Twigs and Twine today.
I must say I am so loving this creative process.
The sad part is my house gets woe-fully neglected when I'm working on projects.
So let's get this post done quick so I can save my home.

Someone asked about my process using the projector.
It's similar to the way I made this project, and this project.
These pics aren't great and I'm certainly not a professional,
but I set it up this way so I can watch/listen to something while I work.
This time it was Safe Haven by Nicholas Sparks.
I have a secret crush on Josh Duhamel.  Sshhh... don't tell.
I recently read the book and of course the movie was a must see.

So back to business.
I put my projector on a chair, then put my board on one of my pub table chairs.
It's just the right height for the image from the projector.
Then I get another regular chair and sit next to the board.


This one is looking from behind the projector to the pallet wood board.


Plain and simple.
Projector on chair.

It does take me a little bit to get everything all lined up,
straight, and evenly spaced.
Especially since moving the transparency is exactly opposite to what it
does on the board.  
I forget that part every time.

Sometimes I have to change the distance between the projector
and the board I'm working on to get the right size of image.


Of course the image came from The Graphics Fairy.


I printed it out at a high resolution, then took the copy to Staples.
It's about $1.00 to get it printed on a transparency.
I've definitely got my money's worth out of that $1 transparency.

Now I get my Sharpies and start tracing.
I usually use the regular tip to trace the outline,
then the broad tip to fill in the spaces.

The nice thing about sharpies is that there is no drying time like with paint 
and it is much easier to control than a paintbrush.  
I do like paint pens, but they are pricey.  
So for now I'll just stick with Sharpies.

I give the image a light sanding to age it a bit.
Then a wax paste coating.
Some easy and cheap hanging wire and I'm done!


Birds on a Branch.

Simple.
Beautiful.


Wednesday, March 20, 2013

Burlap and Birds


I have been thinking about this project for a long time and finally got it finished the way I want it.
I regularly think about this scripture in Mark 4:39. 
We can go into a whole Sunday School lesson about it, but I will let you do that on your own.  

I know that I can get stressed, overwhelmed, scared, frustrated.... you name it sometimes.  
When that happens I have to force myself to remember this quote. 
I knew if I added it to my decor, it  hopefully will be a much easier, and prettier reminder.

I saw this bird tree on Graphics Fairy a while ago and originally planned on making a pallet wood tree for Christmas with it.  
That hasn't happened yet.... 
Yet. 

But until then I love the birds and the versatility of the image.  
I can use one bird or seven, depending on the effect I am going for,
or the size of the canvas. 
I will definitely be using it again.

For the Burlap one, I wrapped a piece of MDF with burlap and stapled it in place, 
similar to this project.
Then I cut out the letters on contact paper with my Cricut. 
I'm using the Billionaire font.
I stuck them to the burlap and traced with a sharpie, 
then removed the letters and filled the letters in.


Then I set up the projector, picked the bird image I wanted and started tracing.

It's really easy, and quick.

Then I put it on my faux mantel with a pallet box I made a while ago but never decided where I wanted it to go.
I had the vintage bottles in my collection and I like the color contrast they bring.


For the Pallet wood, I followed the same tracing process, only this time I used the negative image contact paper for the lettering.  I may try this with regular craft paint next time, but I knew tracing the birds would be much easier using a sharpie.

After tracing I sanded the whole thing a bit and added hanging hardware.


You can also purchase these items on my etsy shop.  Please stop by!

Until then,
Peace... be still.


Tuesday, March 19, 2013

Projectors and World Maps

This Projector project has been a super long process for me.
The actual wall art only took about an hour with the help of my boys.
But then I needed to decide what quote I wanted on the wall with it.
That took a while searching online to find the perfect one.
This quote comes from Dieter F. Uchtdorf.

Then I needed my sweet Sister-in-Law to cut the vinyl out for me.
We played around with different fonts and sizes until I finally designed it myself in photoshop.
I have included the design with the font types in this post.
Really that part didn't take very long.
But getting my boys to clean and organize their room and getting around to making curtains for their window took the absolute very longest.
I can't blame it all on the boys though.
I just got the curtains done yesterday.
So finally I can share this very cool piece of wall art.
We may add color or something to the places we have been, but I'm still undecided about that.
So until then, here's the finished project.

I hope you like it!


First I found a world map in Google Images I liked.  The hard part was that I wanted the United States to have each individual state.  I couldn't find a World map that had them, but just the countries for the rest of the world.


So I merged the two maps in Photoshop.  If you look too close, the Baja of the coast of California doesn't quite match up, but you probably wouldn't have noticed had I not told you about it. Then I took it to Staples for a transparency.  $1 well spent.


Then we set up the projector in their room and got to tracing.  We used paint pens from Michael's.


It was fun working on it with my boys.  We said things like, "I got Africa." 
"What are all these islands off Australia?"
"I call the United States!"
"South America is Done!"
"Sheesh, Greenland is HUGE!"
A few times we pulled out our real world map to figure out what exactly we were tracing.  
It was a great geography lesson for all of us.
Next I got the vinyl cut.  Here's the design with the font names at the bottom.


And finally Done!


The vintage school desk I inherited a super long time ago and we have had it in the kids room ever since.  My older boys can't fit in it any more but it still looks cool!


I hope you enjoyed your short trip around the world today!
Come back soon.  
I have lots more projector projects coming up and will be opening an Etsy store shortly.
So excited!


Print It Button