Do you have vintage photos that are very low resolution and when you try to send them out to be printed you get that exclamation point telling you that the resolution is too low and if you get it printed it will be really grainy? You can easily fix that in Photoshop. I have this photo I found that I love of the Ranch we go to every summer. My great-grandparents purchased it years ago as a place for their descendents to gather and keep our family ties strong. What foresight and a huge gift to the future generations! Anyway it is super low resolution and I would like to print out a 5x7. Here's a copy of the origional.
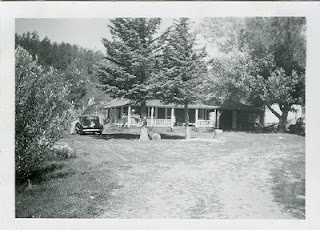
Open Photoshop. Then open the photo you would like to resize. Next create a blank document the size you would like the finished photo to be. I made mine 5x7. This will work for any size, even 20x30. Next, using the move tool, drag the origional photo to your new document. It will probably look like this:
Since I don't want it that small, I hit control and t to activate the transform tool. You can also find this under the edit key in the toolbar. Click and drag one of the corners to resize the photo to fit the new document size. Click on the checkmark at the top to accept the change. It should look like this:
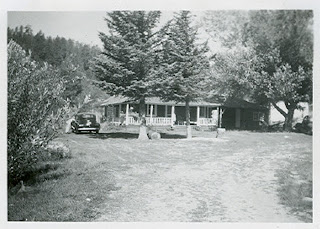
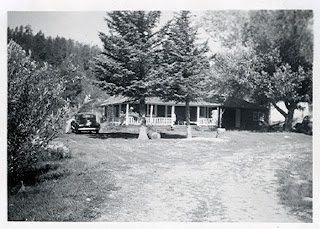
Now I like the size, but the coloring is a little faded and I'd like to intensify the blacks and whites. To do this click on Image > Adjustments > Levels This will open a new box with a histogram. Kind of what you might get on your camera to see what the lighting levels are. Anyway at the bottom of the histogram there are 3 little arrows pointing upwards. One side is for blacks, one in the middle, and one for whites. I click and drag the outside arrows in towards the middle a little. Play with it to get an image you like and hit OK to accept the change. Here's what mine looked like after adjusting the levels:
I like this but I want to add a little more. How many times do you come across a vintage photo and wish you knew who or what was in it? Or it was written on but it's faded or unledgable? There is another easy fix. Just add text to the photo. I used Texas Hero font from www.dafont.com It's free. Create a new layer. Click on the little T in your toolbar. This accesses the Type tool. Place your cursor on the photo where you want the text to be. Preferably in a spot where it won't cover up any of the important parts of the photo. Make sure the type color is what you want by checking the color box at the top of your toolbar. Then type your text. You can resize this and move it using the Transform tool like you used to resize the photo. Here's what mine looked like with text:
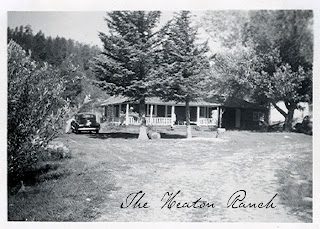
Since the text is a little darker than the photo, I'd like it to match a little better. To do this, make sure the text layer is highlighted. Above that is the opacity slider. Click on this and move the slider to about 75%. You can play with it to get the look you like. Here's what mine looked like:
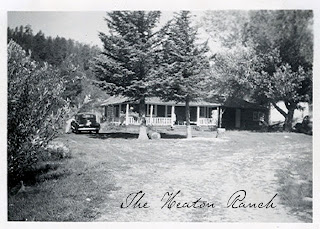
Now I like to add border brushes alot. So I created a new layer. Click on the brush tool in your tool bar. Select the brush you like from your brush pallet. I think mine came from Scrap Girls. Place your cursor over the photo, making sure the color of the brush is what you want, and click. This will stamp your brush on the photo. Now access your transform tool by hitting Control and T. Resize the brush to frame your photo and click on the check mark to accept the change. I reduced the opacity to 75% like the text. Here is what the finished photo looks like:
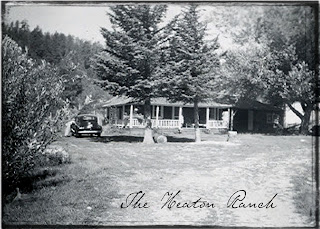
Now my vintage photo is resized and labled and I can send it to my printer to be printed. Be sure and save your photo as a .psd file and a .jpeg file. Then send your .jpeg image to be printed. Enjoy!

it looks great and seems like the directions are very easy to follow now I just have to try it!
ReplyDeleteThanks! This is great.
ReplyDelete