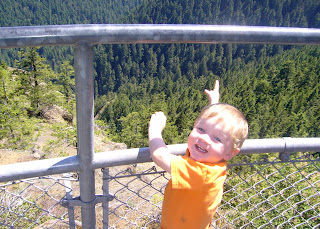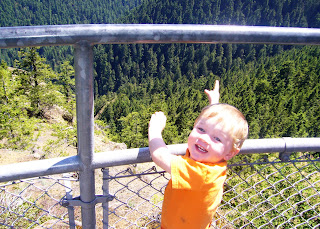
It's cute, but not that great. First I created a new document by hitting Control + N. This opens a dialog box to choose the size. I chose 5x7 for my finished size. Next, hit the V key to activate your Move tool. Drag a copy of your origional photo on to the new document mat. You may need to resize this a little. I did. I used the Control + T keys to activate the Transform tool. Click on a corner to change the size. If you want to rotate it a little move your cursor outside the dotted line and move it around until you get a curvy arrow. This will allow you to rotate your picture.
Next I adjusted the levels on my photo because I wanted the colors to pop. To do that, at the top toolbar, click on Image>Ajustments>Levels. This gives you a histogram. Click on the right and left arrows and drag them in a little. This intensifys your colors.

I still wasn't happy with the result so I hit Control + J to make another copy of the origional photo. Then above the layers pallet there is the blending mode dropdown list, it is next to the opacity slider. Normally it is set to normal, pretty ingenious right, but I changed mine to Overlay. That was really strong, so I decreased the opacity to about 55%. Here's what that looks like:

I like the coloring in that much better. Next in Jessica's tutorial, she added a frame overlay. Since I didn't love hers, I went to www.brusheezy.com to find some free ones. I used a lace one and a flower flourish one. Choose what works for you.
Since some of you have never uploaded your brushes yet, or don't know how to, here's how. First open your photoshop program. Next, under the Edit key in the toolbar, there is a Preset Manager in the drop down list. Click on this. It it should open a new dialog box. Make sure it is set for brushes at the drop down menu. Then click on the Load box. This will open a new box with your files. Find your file you saved the brushes into. You also need to make sure they are unziped. To do that click on the zipped file and an extract program should open up. I use extract now that I downloaded for free on the internet. Click and drag the zipped files into the extracting program and click extract. Once the files are unzipped, click on one to open it. There should be a brush icon, if there is not, it will tell you no files available. Click once on it and your brushes are loaded.
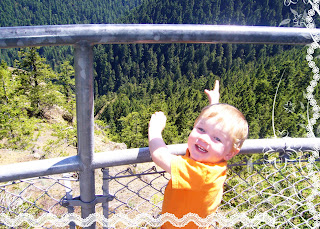
Ok back to the photo. I opened a new layer in the layers pallet. Click on the brush tool, then from the drop down menu on the top, select the brush you want. Make sure the color is what you want by checking the color chips on the toolbar. Now stamp your brush where you want it. I put mine along the lower right corner. Be sure you make a new layer for each stamp of the brush, that way if you don't like it or you want to move it or change the size you can. Otherwise they are linked together.
I played with several until I got the look I liked. There are 3 different brushes on this photo. You can also play with the opacity for each one by adjusting the opacity slider. It looked like this:

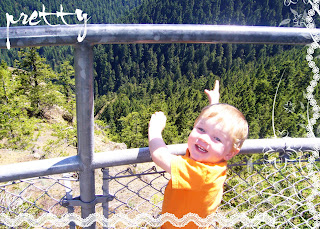
Next I added some text. Create a new layer. Click on the text tool
which is the capitol T on the tool palette. Play with your fonts. I chose a grungy swirly one. It is called VNI-HLThuphap. I probably got it from Dafont.com. Most of my fonts came from there because it's Free! Now I'm done. Here's what the finished photo looked like:

Have fun playing with your brushes in Photoshop. It definitely adds that little something to your photos!
Happy Summer!

I've been trying to do the classes and I did the one yesterday but couldn't get it to load in the online gallery then today I downloaded the brushes she has but when I went to load them on elements it said it couldn't find them so I'm not sure what to do? Wish you were here!
ReplyDelete