Wednesday, June 19, 2013

Man's shirt Challenge


Summer means staying inside to escape the sweltering heat 
around here and that means sewing projects.  
My husband recently gave me a couple of his shirts that 
he doesn't want anymore and said, 
"Let's see what you can do with these."  

Challenge on.  
Challenge accepted.  

My girl needed something new so I decided to make something for her.  
I know in the pics above the shirt color is different.  
My boy accidentally deleted the original photo of my girl 
in the shirt pre-refashioning so I had to take a quick pic of her in another shirt.  
They are exactly the same, 
I just wanted you to get the idea of what the before's and after's look like.


So here's the before.  Way too big.  Not a cute look for my cute girl.
So let's start cutting and picking out.

First remove the front pocket by carefully picking out the stitching.


Now let's start chopping.  First the sleeves have to go.


Next cut straight across just below the collar on the front side.


Flip the shirt over and cut a straight line across the yoke.


Now for the front bodice. 
This will be made out of the back of the shirt.
Measure your girl, 
or yourself if this is for you to get the front measurement from the chest to the waist.
Cut straight across the shirt at the desired length.


I wanted to add some pin-tucks to the front of the boddice.
Pin in place.


Then straight stitch down.


Now for the arm holes.  
I measured from the top of the shoulder to under the arm.
Put pins or mark where those measurments line up.


Fold the bodice in half and cut the armhole like shown.


Here it is unfolded.


Lay the front bodice over the front of the shirt where the buttons are.  
Cut an identical piece out.


With the rest of the shirt, cut straight across.
This piece will be the skirt.


Cut the curvy part off too. 
This part is optional, depending on the look you are going for.


Now I need some bias tape for the shoulder straps.  
Cut the sleeve completely open.


Cut some diagonal strips like shown.


Seam the strips together. 
I didn't know how much exactly I would need for the straps 
so I made one continuous strip of bias tape.  
Sew together like shown.


I top stitched each junction.


Now we are ready to assemble the dress.


Pin the front and back bodice pieces together with right sides facing each other.  
Sew side seams.
I topstitched each side seam too.


Gather up the skirt.  
I'm using my gathering foot, but use any method you're comfortable with.


Pin bias tape to the top edge of the wrong side of each piece of the bodice.  
Stitch in place.


For the front bodice, fold the bias tape over then stitch in place across the front of the bodice.


Follow the same method for the arm holes.
Start at the back of the bodice sewing the bias tape in place.  
Fold over the starting point fabric.
This will give you a clean edge for the strap when you attach the other side.


Clip the curve of the arm hole like shown.  This will make the curve easier to sew in place.


Measure the length you need for the strap around the shoulder.  
Top stitch the bias tape in place, 
tucking the end of the strap inside the folded piece you started with.
I added another top stitch to secure the joint.


Roll hem the bottom edge of the skirt.


This was just slightly too short for my girl 
so I dug through my stash and found 
a gorgeous piece of eyelet that originally 
was a dust ruffle I found at Goodwill a long time ago. 
It's been sitting patiently waiting for me to use it.  
Today was the day.  
And I still have plenty left over for another day.  

Gather the eyelet piece.


Pin everything together matching right sides.

Serge or zigzag in place.  
I added another straight stitch line to secure everything and give me a clean seam.


And done!


I'm so loving the buttons down the back!


From a Man's Shirt...


To a super cute dress!


Happy Surviving the Summer Heat!

PS.  My Husband didn't believe me when I told him that I made the dress from his shirt.
How's that for Challenge Beaten!


Wednesday, June 12, 2013

Summer Bliss


It's definitely summer here in hot Arizona.
Kids are out of school.
Vacations are coming soon!
And summer fruit harvest is just beginning.
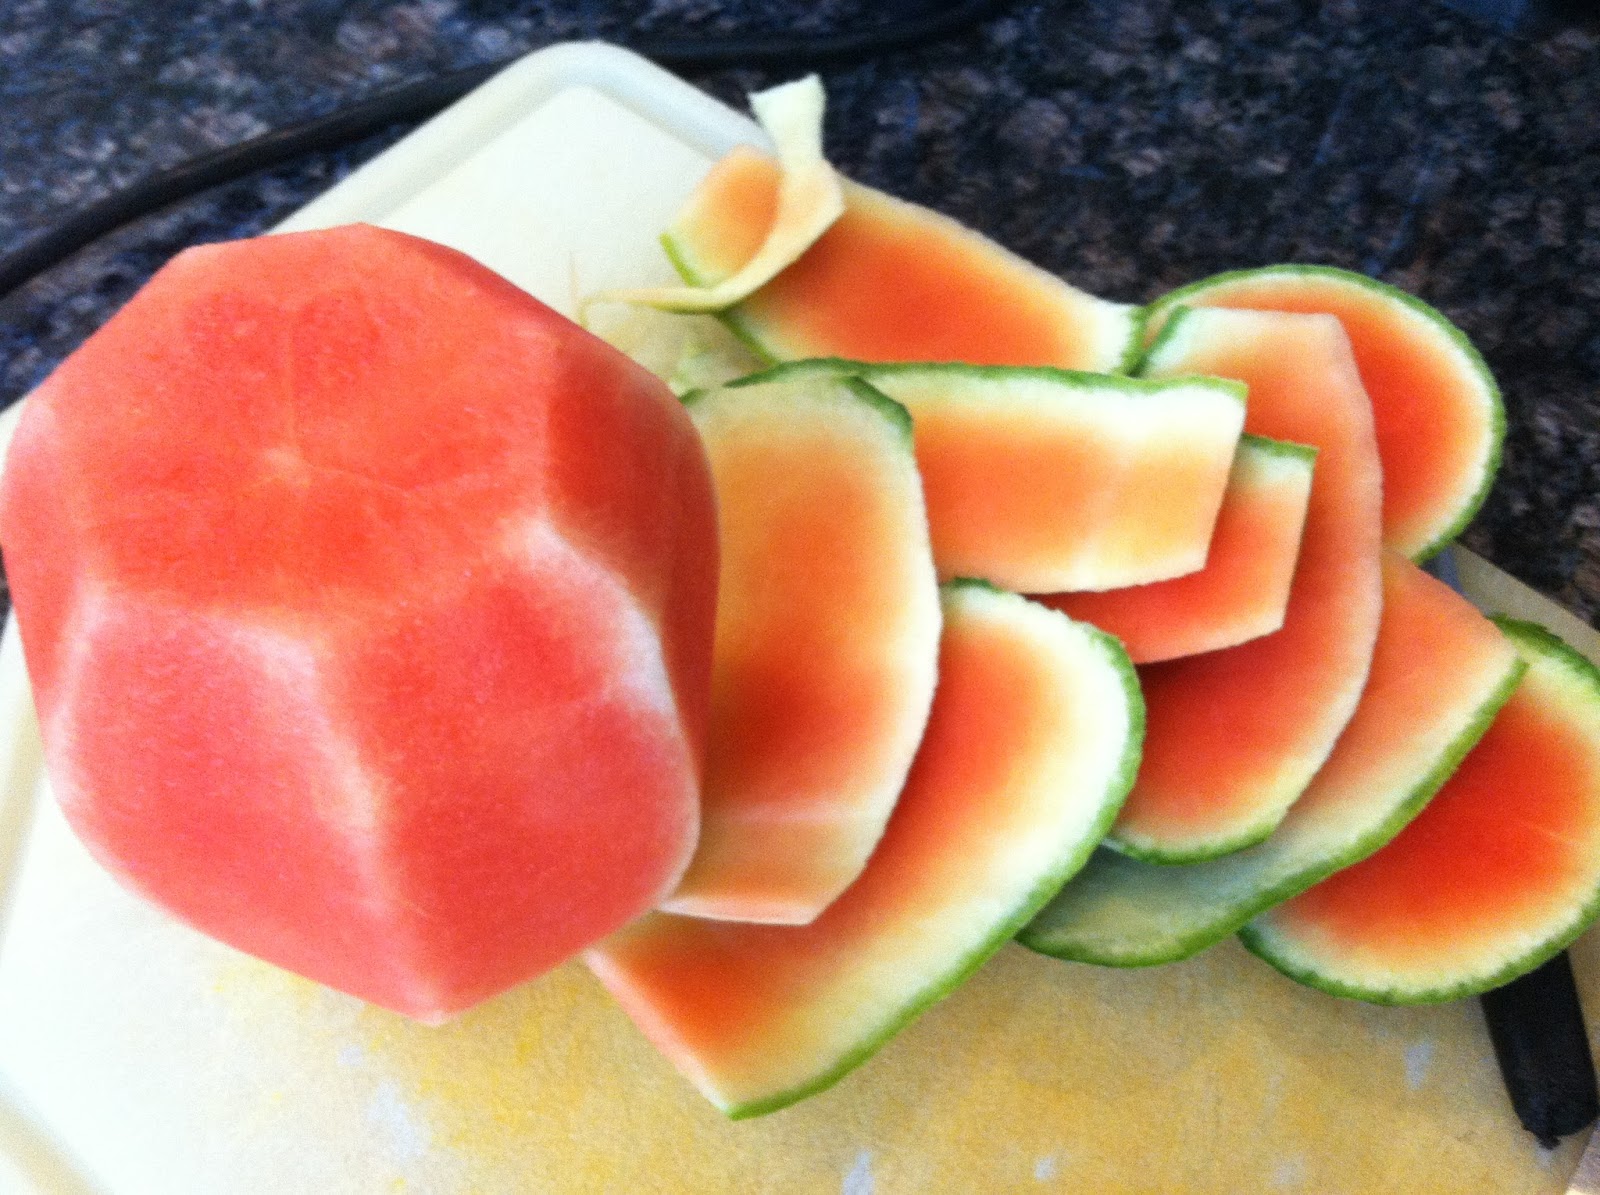
I have to say that my favorite part of Summer has to be watermelon.
Yep.  It's my absolute favorite thing to eat.
Fresh ripe berries are a close second.
And since both are super cheap, ripe and ready, I'm in heaven.
Today's recipe is similar to my Wa.S.P. jam, but I couldn't think
of a fun acronym so we decided to just call it Summer's Bliss.
It really is!  Each bite screams summer to my taste buds.
So let's get started.

Summer Bliss Jam


You will need a total of 5 cups fruit puree.
I used 3 cups watermelon
1 cup raspberry
1 cup blueberry


Put all fruit in blender and puree to desired consistency.
Pour puree into large stock pot, along with
1/4 cup lemon juice.


You can see mine is a little chunky.  Just the way we like it.


Follow the instructions on your pectin box.
I only used 4 cups sugar for this jam.  It was the perfect amount of sweet.


Prepare your jars while the puree boils.


Bring to a full hard boil, then add the 4 cups sugar all at once.


Bring back to a full boil and let boil for 1 minute.


Put lids in water over medium-low heat and bring water to just below a boil.


Pour jam into prepared jars and attach lids and rings.


Process in your boiling water/steam canner for 10 minutes.


Let cool for 24 hours.
Lable and add to your pantry.
I made 2 batches and got just shy of 8 pints, 
since my canner only holds 7 jars at a time, 
we had some to use right now.


Slather on your favorite slice of bread and enjoy!


Another perfect combination of summer's bounty.

MMMmmm... Summer Bliss!


Saturday, June 8, 2013

Jars and Racks


More Beachy things today.  

First off will be the fish-net jar.  
It's super easy to do, it just looks a little intimidating.  
Really it's not.  
I probably should have done more strands around the jar, 
but I'm happy with the result and it was just the added touch my glassware grouping needed.
I'm using a recycled Vlasic Pickle jar.  
It's big and has a great shape.  
And yes, we do eat alot of pickles on sandwiches around here.

You will also need several strands of jute.
The first one is a circle tied to be just smaller than the bottom of the jar.
Then measure at least 1 1/2 times the height of your jar for the side strands.
I cut 8 strands. 10 might be a little better, either way the process is the same.


Tie the circle, then add each strand, spacing them evenly around the base circle.


Set your jar on top and start tying over-hand knots like shown.  
Keep the spacing and the knot height as even as you can as you work around the jar.


Keep working around the jar alternating strands and tying the knots up the sides of the jar.
Tie another circle around the top of the jar.
Then tie the remaining strands to the top circle like shown.
Done!


I wrapped a couple of shell necklaces we got in Hawaii 
around the top of the jar and let some of 
the necklace drape down the side of the jar.  
Then added a bit of sand and some fun shells.
Beachy, perfect.


Now on to the shelf.  
This was mostly pallet wood, minus the wooden knobs.


The pieces were cut from pallets we used on the garden box.  
I left the slats in place with the original hardware. 
Those are stuck together like nobodies business 
so I wasn't too worried about adding more nails or screws.
Each shelf got a good sanding, 
then I added some wooden knobs I already had in my stash.


Each one got a light white wash, then I added a little color to each slat.  
Then another good sanding.

Each piece got a wax finish.  
Damp bathrooms aren't good for wood so they needed a layer of wax protection.  
Plus with my kids hanging and re-hanging their towels, 
it definitely needed a little more protection.


Each shelf got hung, then I placed a few shells and a necklace for decoration.
It's cute and the best part is I don't have to be constanly hanging up towels anymore!

Hoo-Ray!


Thanks for visiting!
Happy Summer!


Saturday, June 1, 2013

Beachy Things - A tutorial

I still can't believe the bathroom is all done.
My husband came home last night from a weeklong scout camp
and was very impressed.
He said he couldn't believe I made it all out of pallet wood.
I wasn't sure if he meant he couldn't believe I could make stuff like that,
or that pallet wood could be made into such cool stuff.

Either way I'm happy with it.

So here's a quick tutorial on how I did the wood signs and surf board for this wall.
I looked all over for a cute surf board that was DIY and didn't really find anything 
so I made up my own design.  

I'm really pleased at how it all came together.  
Here's how I did it:


First I got 4 similar sized slats of pallet wood, cut them to the shape I wanted,
(mostly freehanded), then sanded them down.

I got the Kids involved helping me paint each slat.
I was a fun easy thing for the kids to help do.


After drying and a light sanding, 
I used my Cricut Storybook cartridge to cut out the hibiscus flower out of contact paper.  
It's much, much cheaper than vinyl and sticks perfectly but not permanently for projects like this.  
The wavy stripe was also cut out of contact paper and spaced to give the lines I wanted.  
Then it got a quick coat of red acrylic paint.  
I let it dry slightly, and remove the contact paper.  
Sand it again a little.


I followed the same process for the surf, sand, sun, and beach signs.  
The font was from the Billionaire cartridge for the Cricut.  
Sorry the sand sign is upside down.  I work that way sometimes.


After the paint dried, I gave each piece a coat of finishing wax.  
Love that stuff!  
I knew they would be in a moist bathroom and I definitely 
wanted the pieces to last so they got a wax coating to protect the wood.


I let everything dry in the hot Arizona Sun.  
It only took a little while.  
I guess there are some benefits to 100 degree weather.  
I think drying paint is the only one.


I added the D-Ring hanging hardware to the backs of each piece along with some hanging wire.


Mark the placement of each piece and hang.  

Done!


I will share some more of the how-to's next week.

Happy Beachy Day!


Print It Button