Friday, May 4, 2012

Cinco De Mayo

I'm a Southwest Native. Consequently I love Mexican Food.  Cinco De Mayo is pretty big around here, mostly for others it's an excuse to drink, but since I don't drink, it's a time to get together and have some amazing Mexican Food. 
You know I'm making some of these.  My favorite! 

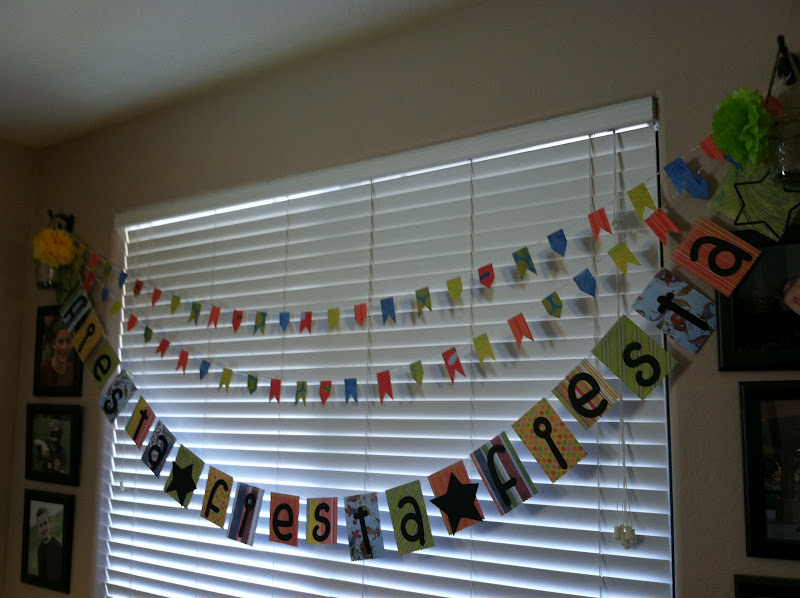
I also love to make some fun decorations to celebrate.  This year I only spent about $3.50.  $2 for tissue paper at the dollar store, and $1.50 for ribbon from Walmart.  I haven't finished my table-scape yet, I'll share when it's done, but the wall deco is done.  Not to bad if I do say so myself.  

The bunting was just little pieces of scrapbook paper cut as shown and sewn onto tiny ribbon.

 I made about a eleventy-billion tissue paper flowers with the help of my friend {C}. Some smaller, some bigger, some fuller, some less full.  I like the variety.
 For some reason the lighting in my kitchen is kinda bad. Sorry about that.  The Banner just says "Fiesta" about 3 times.  I used my Cricut to cut the letters.


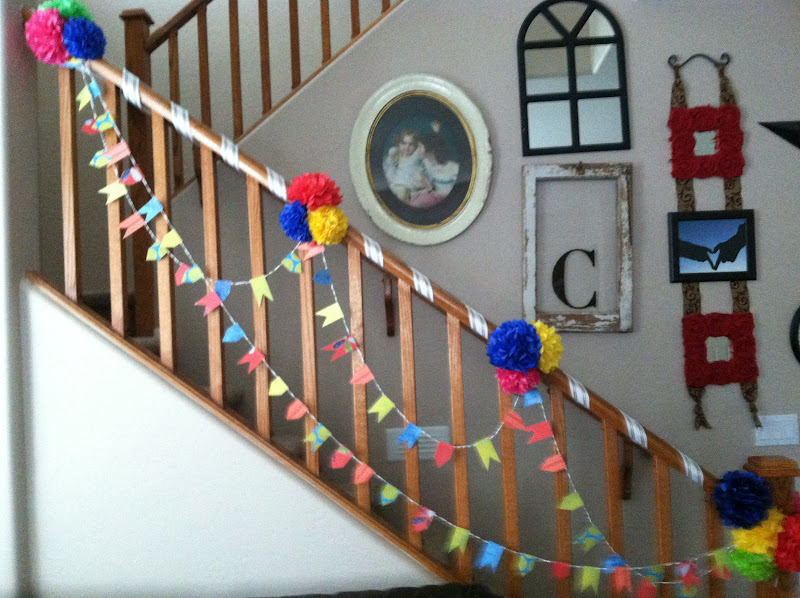
 This is the stairway. It's wrapped in ribbon, bunting and tissue paper flowers.


 Remember the wreath I made here? Well I'm in a new house without a fireplace so this it how I chose to display it.
 It was fun adding the bunting and flowers to it.  I love how it turned out.

 Lastly the wreath on the front door.  Super easy and I think pretty cute!


Happy Cinco De Mayo!
Let's eat!

Tuesday, May 1, 2012

Beadboards and Monograms

 I started this project back when I did the bookshelf, but never got it finished.  I'm so happy it's done.  I love having this up in my bedroom.

 Here's another view.


Now for the how to:  I printed out large letters in the font that I wanted. You could also just purchase pre-cut letters from Joanns, or Hobby Lobby, or Michaels.

Then cut them out and traced them on some particle board that I had.
After cutting the letters out on the scroll saw, I put them on cardboard on top of push pins.  This keeps them off the surface for easy staining and drying. I used ebony wood finish and applied 2 coats.
 While those letters were drying, I used the same stain on the beadboard.  I really like the aged gray color I got with the stain on the beadboard.

 It got a light sanding to reveal a little of the white.
 Next I used some Liquid nails to glue the pieces together. The beadboard was put together along the grooves, then the letters glued on top. It took me a while to decide the exact orientation I wanted with the letters.

 Here's them laid out.  I made the ampersand bigger on purpose.


After everything was glued down, I covered it with a layer of plastic to protect the wood, then something heavy to keep things glued down tight and let it dry overnight. 

Attach your hanging hardware and done!


 I added some black burlap rosettes to the mirrors from Ikea as accents to the beadboard sign.


I am in the process of changing my bedding.  I will share as the pieces come together.

 I'm so excited!  It's going to be gorgeous!


Thursday, April 26, 2012

DIY Gallery Wrapped Photos $6!

I have wanted some large gallery wrapped prints for a long time, but $75-$100 per print is not in the budget.  I figured out how to do these for about $6 each.  Yep.  $6. 

I even have proof.  Each print is 24x36.  They are $2.99 from Staples.  Get the engineering black and white prints.  They do have larger, but for my space I wanted 24x36.  The Polystyrene sheet was 1/2 inches thick and was about $6.50 and I can get 6 canvases out of one sheet.  Then the spray adhesive was $5.99 at Wal-mart. So if you do the math, it comes out to about $6 per print.  Awesome! 


So now we have some supplies.
Mark and measure the 1/2 inch polystyrene insulation.  I used a T-Square to help make things easier.  Draw your lines on the back side of the insulation.  It is super easy to cut.  I just used my serrated paring knife in a gently sawing motion.  The only downside is the little white styrofoam pieces that inevitably ends up on the floor. I cut mine 22x34 because I wanted to wrap the insulation with the print.  You could paint the edges and make it full size if you wanted.
 Next I measured the print in about one inch.  When I do it again I will place the insulation on top of the print, mark it, then make the folds.  One of them didn't turn out exactly perfect by just measuring in 1 inch.
 Make folds along the marks and cut the corners out.  This will give you a clean corner.
 Dry fit the insulation to the print make any adjustments to the folds.
 Take the insulation outside and spray the plain side.  I followed the manufacturers instructions for a permanent bond.  Carefully place the insulation on the print making sure it fits the folds correctly.

 Next I got out my trusty rolling pin to squish out any air bubbles.  Roll it good and hard.
 Spray the edges and press in place.  I had just enough to wrap the back edge too just a little.  Keep pressing to keep the deges in place. 

I let mine dry overnight with some heavy books on top to keep things flat.  I kept getting interrupted with trivial things like homework, dinner, and bedtime.
 Using my scissors, I cut a small line in the edge of the picture about 6 inches down from the top.  Insert a paperclip with the large side inside the insulation.
 I used heavy upostery thread and strung it through the paperclips.  Since this weighs almost nothing you don't need anything heavy duty to hold the picture up.
 I used my scrapbook ink to ink the edges.  That's totally optional.

Mark where you are going to place your prints and hang.  Super easy!


 I love it.  I so miss Washington.  These were taken at the Dungeness Spit Lighthouse in North Western Washington.  The Olympic Mountains will always be my favorite!


Print It Button