I love
design inspiration. Mine came from this shirt I had in my closet.

I love the drape and the wrap. I wanted to try to duplicate it using this
mens long sleeve t-shirt. It worked great. All you need is one long sleeve shirt that is about 2 sizes too big for you. I got this one for
free from a clothing swap. I think next time, I'll go
Goodwill Hunting!
Here's the finished shirt.
Now the how to...
Cut the shirt apart. All the way. All the seams and remove the stitching too.
Find a shirt with a cut you like to use as a
template. Take the back of the shirt you cut up and cut it out leaving 1/4-1/3 inch seam allowance.
Like shown. Remember the sleeves too.
Now measure where you want the wrap to come too. I wanted it to be close to my
natural waistline but you could put it anywhere you wanted.
Cut the swoop saving both pieces.
Flip the right side over to the left and trim the sleeve holes to match the back piece.
Using both sleeves you cut from the shirt, cut two new short sleeves for the new shirt.
Like shown.
Now with the left over sleeve pieces, we are going to
piece together the inside of the wrap. If I had 2 shirts this wouldn't be necessary, but it will be on the inside and it will look fine.
Seam together the pieces to make a wrap the same size and shape as the first one.
I
top stitched each seam for a finished look.
Now you have two pieces for the front wrap.
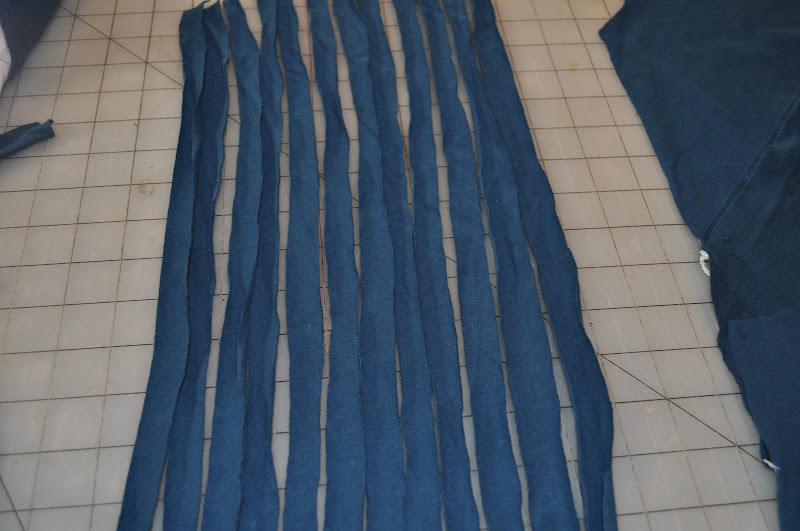
Let's add some ruffle. I cut up the remaining pieces of sleeve into strips about 1/2 inch wide.
Sew each strip together into one continuous strip.
Gather the long strip of fabric.
Sew the shoulder seams together making sure they are right sides together.
Now
add the ruffle to the neckline. I had enough ruffle to double the ruffle on the outer wrap piece. Feel free to embellish as strikes your fancy.
For the sleeves, I added
a tiny gather to the top of the shoulder to help the fit.
Now assemble the shirt. I sewed in the sleeves, then the side seams making sure the whole wrap piece is on the inside since when you turn it, this will be on the outside.
Top stitch the seams to make it look more professional. I did a simple one turn hem on the sleeves and the bottom of the shirt.
Here's the finished top.
Before and after.
I love it! Now I need to find another one in a different color. Maybe add a gather to the shoulder and side seam for more drape next time. It's so fun to play with
upcycling.


No comments:
Post a Comment