
I know. I should be doing a best of 2012 post right now.
I will. Just not yet.
I'm too excited for this project.
I have a Scoutmaster, an Eagle Scout, and 2 Boy Scouts in my house right
now so Camping is a normal thing for us.
Unfortunately the rules are changing for the Arizona Forests.
No more car camping wherever you want. No more driving off the road to find a good spot.
You only have 2 choices.
Camp where there is an established camping space in a campground,
or hike in to where you want to go.
My boys will doing a bunch more hiking in the future
and I wanted to make each of them a hammock that they can take with them.
Update 6-2-2013: These were an epic fail on my boy's 50 mile scout camp this last week. They tested the hammocks many times before and the grommets pulled through the fabric. So I folded over the top of the hammock and stitched it down to make a sleeve. These held up only slightly better. So really, keep reading to find out about my epic fail. Spend the money and buy one at the store. :(
Hammocks are lightweight and easy to pack and you don't need to bring a tent or pad.
We looked at the ones on Amazon and decided I could make one for cheaper.
I did for much, much cheaper.
Some of the fabric came from my SAS fabric trip recently.
It's fabulous and I only paid $2.50 a yard.
Better than I would have gotten with a 40% off coupon at my normal fabric store.
Since my boys are different heights, there are 3 different lengths of the hammocks.
The average being 2 1/2 yards.
My husband got 3 yards, and my youngest got 2 1/4 yards.
They are super easy to put together, and probably a must have for your preparedness stash.
Let me show you how.
First lay out your fabric and cut to length. I have 4.
One is 3 yards.
Two are 2 1/2 yards.
And one is 2 1/4 yards.
I'm using a heavy duty rip-stop nylon fabric you can find in the Utility Fabric section.

Hem all sides of the piece of fabric with a simple rolled hem. I used a heavy upolstery thread.

I didn't want all the bulk at the end, nor did I want a sleeve to thread the rope through.
Also the boys didn't want to have a stick at the ends to keep it open and flat.
So I created pleats at each end, folding over the fabric in 2 large pleats per side. Pin in place and stitch down.

Now add grommets to the ends. There are 4 per side.
Hammer in place according to Manufacterers instructions.
Place them about 1 inch from the edge to give it stability and strength.


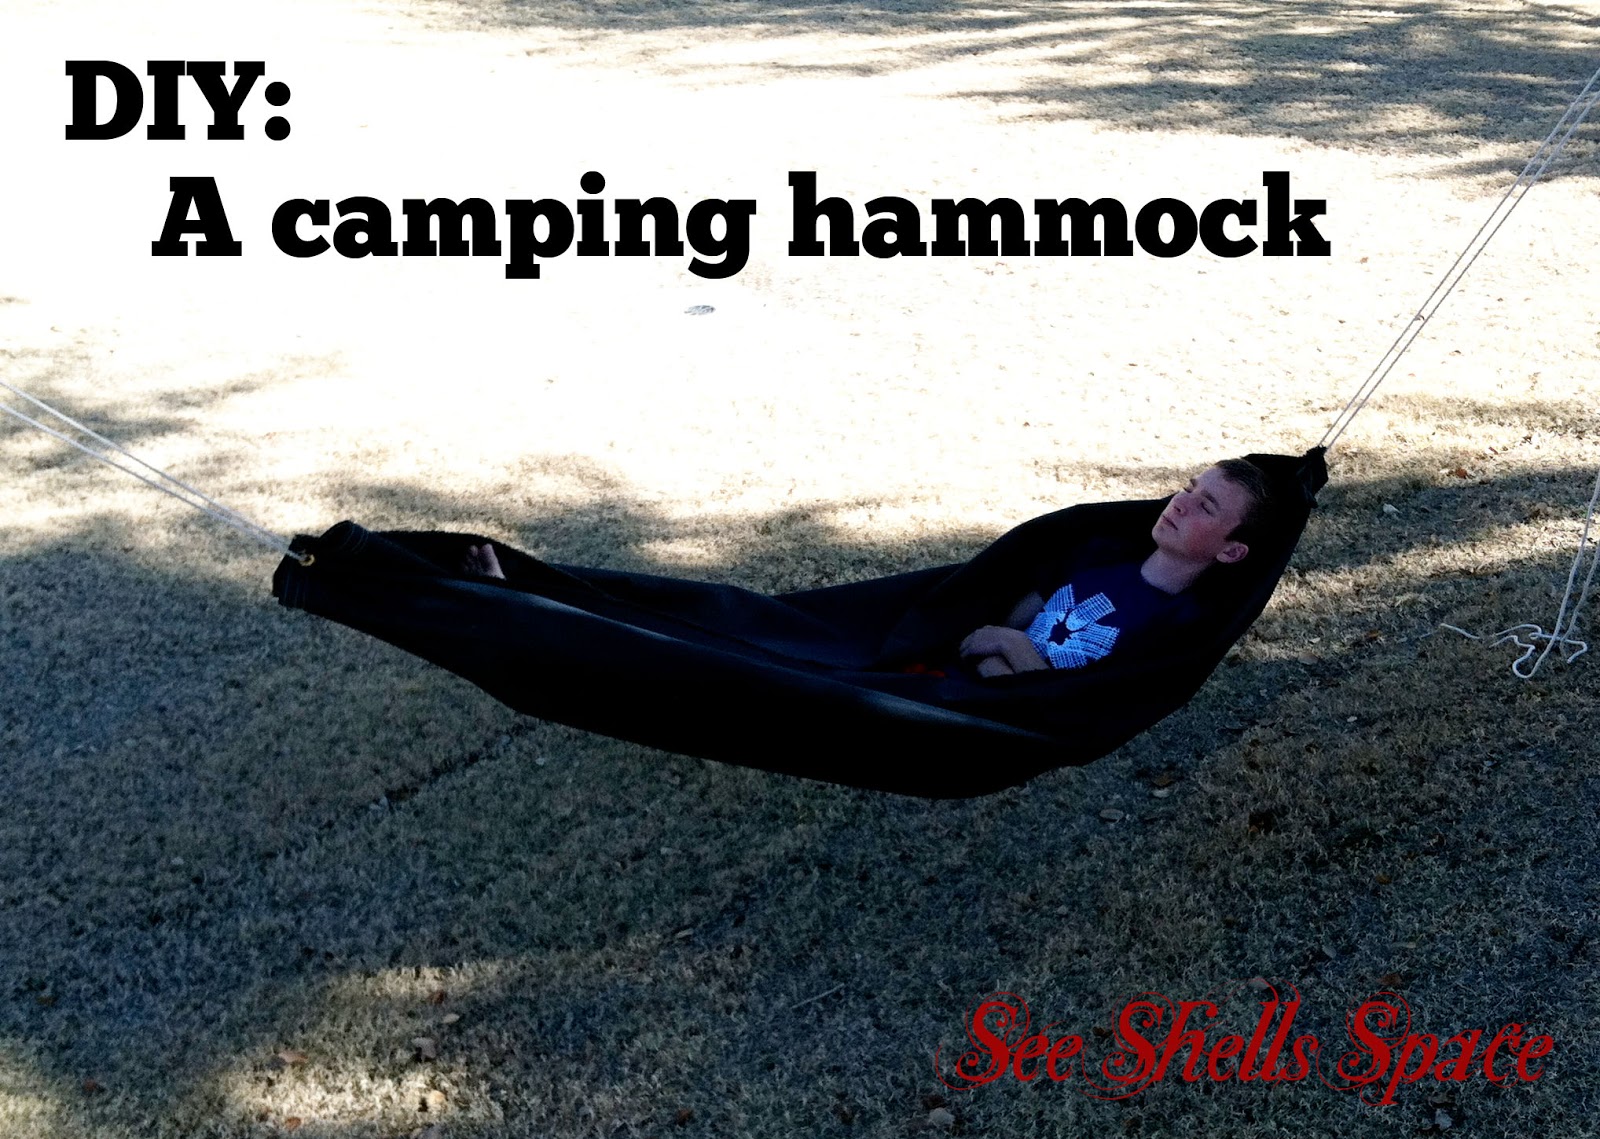
Thread the rope through the grommets and hang between 2 trees.


Nice place for a nap my little Eagle Scout!
Now he wants me to hang it in his room for him to sleep in.
I'm not sure that will happen, but it's fun to dream about.
2013 will be the year I focus more on Preparedness.
Please come back often and I'll share what I'm learning and the simple projects we can do to help prepare our families for the unknown future.
I'm super excited about getting my garden going and my own espalier'ed orchard in my tiny back yard.
Be sure to check back to see what I mean about Espalier.
It's super cool for those of us with tiny urban back yards.
No comments:
Post a Comment